![]()
Ninja Forms is one of the popular form integration plugins for WordPress. It has many extensions and at the time of writing this article, has more than 500,000 active installs.
The WP Google Analytics Events plugin gives you an easy way to track Ninja Form submissions with Google Analytics.
I wanted to give you a short step by step walkthrough for tracking your first form submission.
The Ninja Form
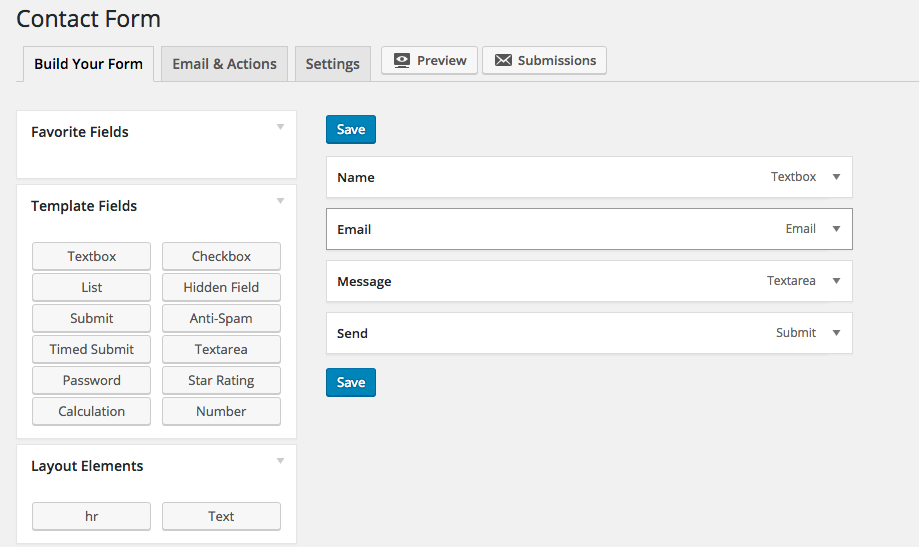
We installed the very popular Ninja Form plugin and set up a page with the default contact form.
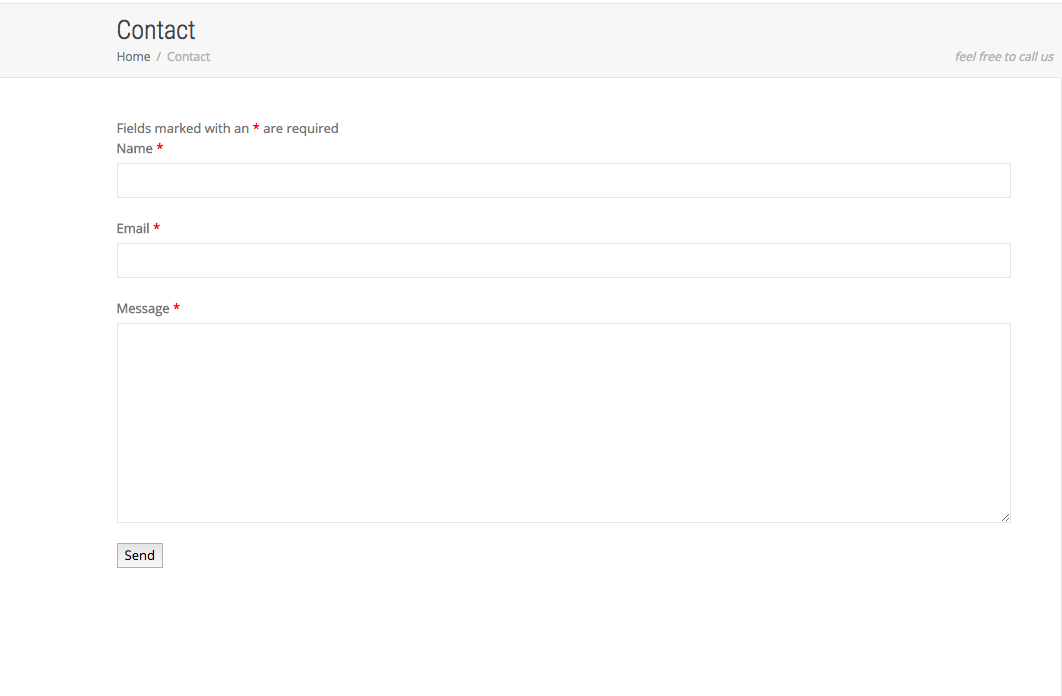
Our goal is to tell Google Analytics whenever someone clicks on the Send button. We can use it to set goals and understand how this form performs.
Ninja Forms has a neat feature that allows you to assign a class to the submit button and we are going to need it in a minute.
We assigned the send button with the class “contact-form-submit”.

If we take a closer look at the Send button with using the Chrome developer tools, you can see that the button has the “contact-form-submit” class assigned.
![]()
Using the WP Google Analytics Events plugin
Google allows you to set up custom tracking with a feature called “events”. With events, you can programmatically track custom metrics that are relevant to your site. You can create events for button clicks, media interaction and a lot more, but in our case, we want to focus on the contact form submission.
To install the plugin, go to the Plugin’s page in the WordPress admin panel and search for WP Google Analytics Events. If you want to use some of the Pro features, you can head directly to Upgrade to WP Google Analytics Events Pro.
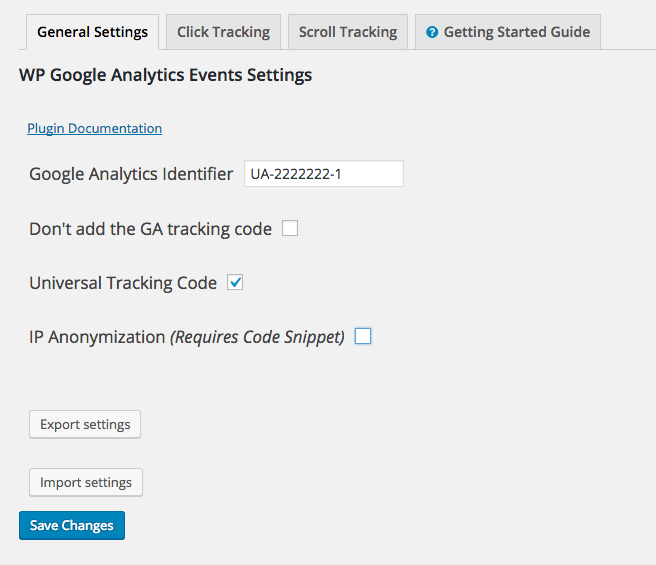
Once you have the plugin installed, go to the plugin’s general settings page, and fill in your Google Analytics identifier.
Setting up click tracking
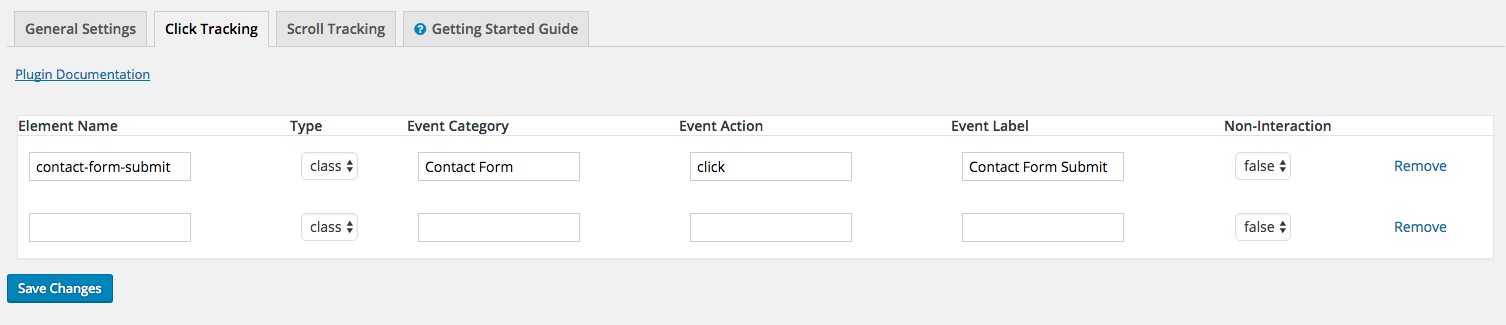
To set up the event that will fire up every time the contact form will be submitted, head over to the Click Tracking tab.
This is where we configure, well, click events.
For the identifier, put in the name of the class that we assigned the button – “contact-form-submit”. Select class as the type, and then fill in the event details as they will show up in google analytics.
In this example, we set the event category to Contact Form, the action to Click and the label to Contact Form Submit.
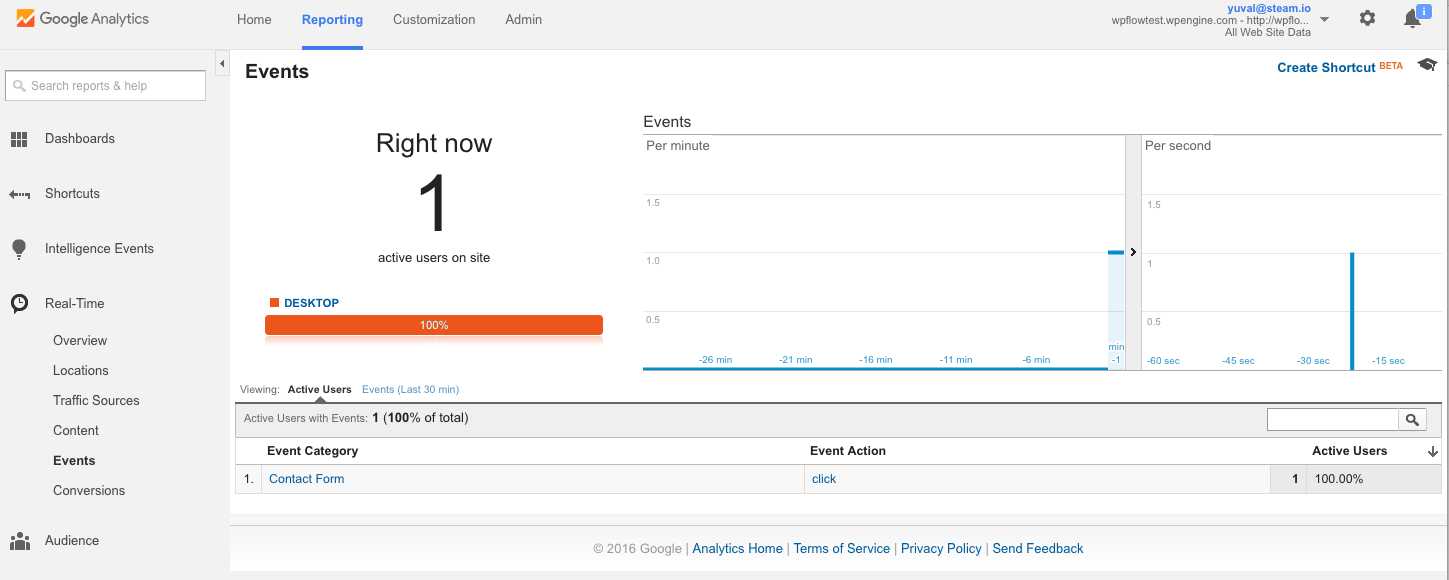
That’s it. The next time that someone submits the contact form, you should see an event in Google Analytics.
If you want to learn more about how to use the plugin, just go to the Getting Started Guide tab on the plugin’s admin panel, and register for a three-day mini course.

